In this guide I show how to remove and replace LCD screen on HP G62 or Compaq Presario CQ62 laptop.
You can use these instructions for the following repairs: replacing failed or broken LCD screen, replacing bad video cable, replacing damaged hinges, etc…
The display panel has to be separated from the laptop base. You can follow steps 1-21 in thisHP G62 or Compaq Presario CQ62 disassembly guide.
STEP 1.
There are only two screws securing the screen bezel to the display cover.
These screws hidden under two screw seals in lower left and right corners of the display panel.
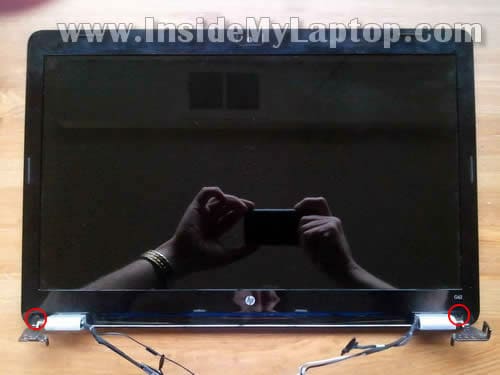
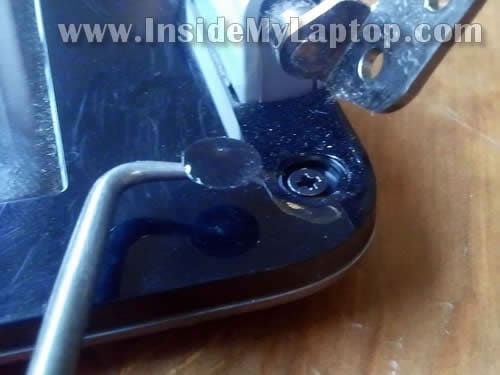
Remove both screw seals with a sharp object. Glue them somewhere on the screen bezel so you don’t lose them.
Remove both screws.
STEP 3.
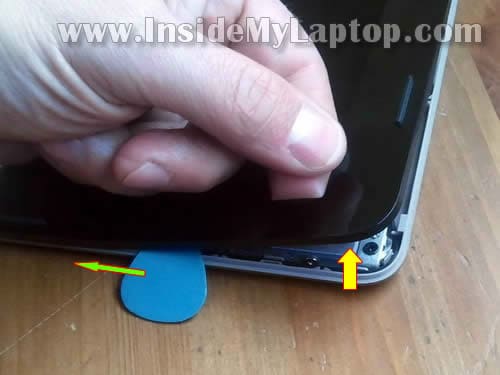
Start separating the screen bezel from the display cover.
I’m using the guitar pick as a case cracker. You can use any other piece of plastic.
STEP 4.
Continue separating screen bezel on the top of the assembly.
STEP 5.
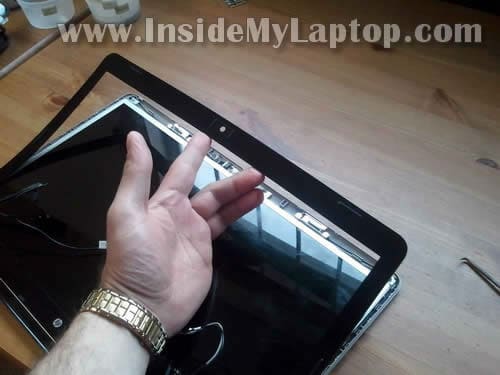
Now separate screen bezel on the bottom part of the display assembly.
The screen bezel might be glued to the screen. Work slowly and carefully.
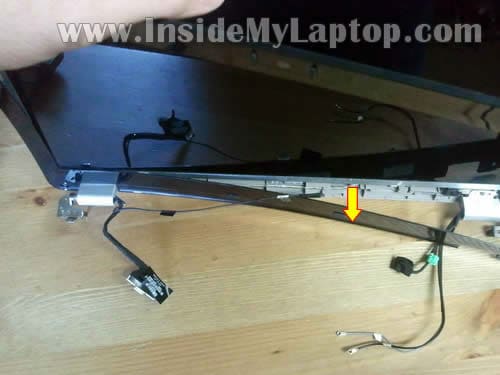
STEP 6.
Remove the screen bezel.
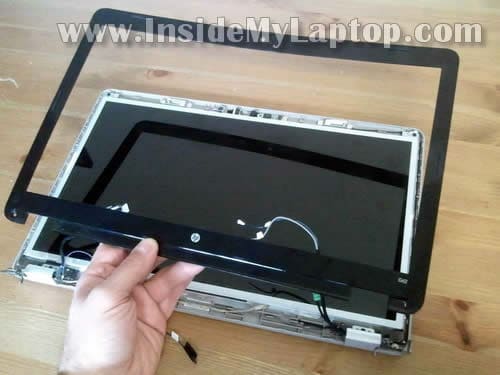
STEP 7.
Remove two screws securing hinge covers.
Lift up and remove both hinge covers.
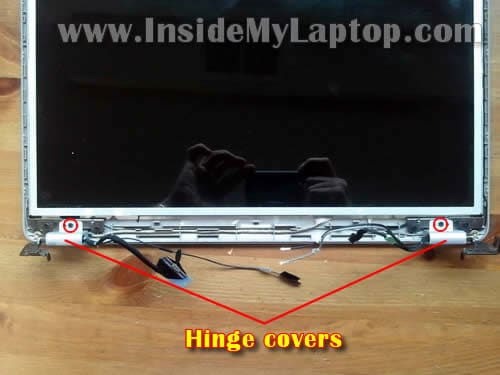
STEP 8.
Remove eight screws securing the LCD screen assembly to the display cover.

STEP 9.
Carefully lift up the LCD screen assembly, separate it from the cover and place face down on the desk.
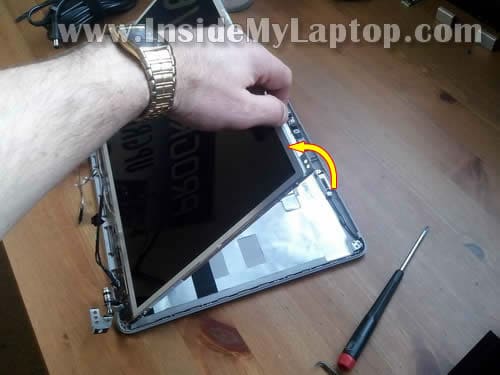
STEP 10.
Now you can access the video cable connector on the back side of the LCD screen.
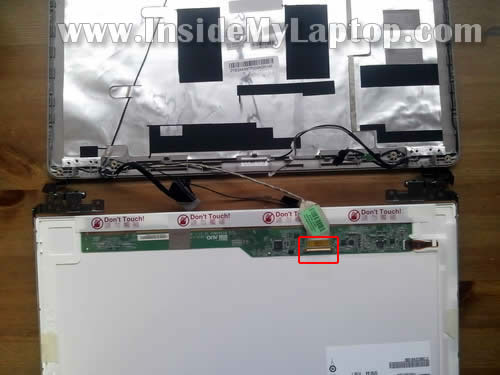
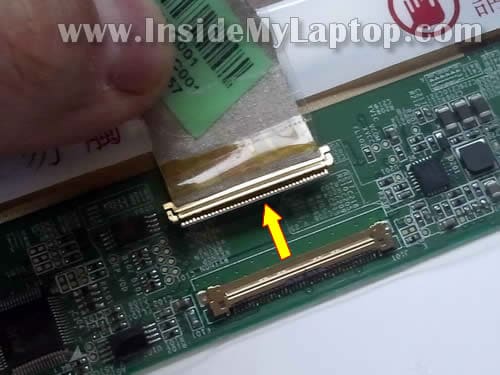
STEP 11.
Unplug/disconnect video cable from the LCD screen connector.
Remove LCD screen.
Looking for a new scree? You can find them here: HP G62 screens or Compaq Presario CQ62 screens.
STEP 12.
Finally remove two screws securing the right hinge to the LCD screen. Remove the hinge and transfer it to the new screen.
Do the same with the left hinge.
New hinges for HP G62 or Compaq Presario CQ62 laptops available here.

Assemble display panel following from step 12 to step 1.
by indidemylaptop
No comments:
Post a Comment